这个特定的 GPT Action 概述了如何构建 AWS Lambda 函数。本文档帮助用户设置受 OAuth 保护的 AWS 函数,以连接到 GPT Action 和示例应用程序。此示例使用 AWS SAM(无服务器应用程序模型)来设置 AWS 堆栈。
价值 + 示例业务用例
价值:用户现在可以利用 ChatGPT 的功能连接到 AWS 函数。这使您可以连接到 AWS 中的任何服务,并在此运行代码/应用程序。这可以通过以下几种方式实现
- 访问第三方服务,例如 AWS Redshift、AWS DynamoDB、AWS S3 甚至更多!
- 允许预处理来自 API 的文本响应(克服上下文限制,添加上下文或元数据作为示例)。
- 允许返回文件而不是从第三方 API 检索文本。这对于展示用于数据分析的 CSV 文件,或带回 PDF 文件非常有用,ChatGPT 会将其视为上传。
示例用例:
- 用户需要在 Redshift 中查找数据,但需要在 ChatGPT 和 Redshift 之间使用中间件应用程序来返回文件(数据分析数据准确性以及大量数据)
- 用户在 AWS 函数中构建了多个步骤,并且需要能够使用 ChatGPT 启动该过程。
应用程序信息和先决条件
我们将利用 AWS Lambda 服务来创建中间件函数。您可以通过访问以下链接来熟悉此堆栈
- Lambda 网站: https://aws.amazon.com/lambda/
- Lambda 文档: https://docs.aws.amazon.com/lambda/
- AWS SAM 文档: https://docs.aws.amazon.com/serverless-application-model/
先决条件
在开始之前,请确保您拥有一个 AWS 控制台,并有权创建:Lambda 函数、S3 存储桶、应用程序堆栈、Cognito 用户池、Cognito 用户池应用程序客户端、API 网关、Lambda 角色、CloudFormation 堆栈(这看起来很多,但创建这些服务是自动化的!)。
创建 AWS Lambda 函数
要创建 AWS 函数,您可以使用 AWS SAM。SAM 模板的示例可以在此处 [0] 找到。
此模板包括
- 用户池和用户池客户端,用于 OAuth
- Cognito 授权器,确保该函数只能由经过身份验证的用户调用
- 将 Lambda 函数映射到现有 VPC(有助于连接到其他 AWS 服务)
- 具有可以动态设置的参数(例如:凭证/变量)
- API 网关,将 HTTP 路由映射到函数
此代码纯粹是为了帮助您入门,不需要预先存在的 AWS 资源。我们建议映射现有的用户池(如果您有),而不是创建新的用户池,并将 Lambda 设置在可以访问其他 AWS 资源的 VPC 中(如果您需要利用这些资源)。您可以在RedShift cookbook中看到这样的设置示例。
Cognito 授权器是确保您的函数只能由经过身份验证的用户调用/访问的关键,因此请确保使用您的环境正确设置它。
[0]
AWSTemplateFormatVersion: '2010-09-09'
Transform: AWS::Serverless-2016-10-31
Description: >
  aws-middleware

  AWS middleware function

Parameters:
  CognitoUserPoolName:
    Type: String
    Default: MyCognitoUserPool
  CognitoUserPoolClientName:
    Type: String
    Default: MyCognitoUserPoolClient

Resources:
  MyCognitoUserPool:
    Type: AWS::Cognito::UserPool
    Properties:
      UserPoolName: !Ref CognitoUserPoolName
      Policies:
        PasswordPolicy:
          MinimumLength: 8
      UsernameAttributes:
        - email
      Schema:
        - AttributeDataType: String
          Name: email
          Required: false

  MyCognitoUserPoolClient:
    Type: AWS::Cognito::UserPoolClient
    Properties:
      UserPoolId: !Ref MyCognitoUserPool
      ClientName: !Ref CognitoUserPoolClientName
      GenerateSecret: true

  MiddlewareApi:
    Type: AWS::Serverless::Api
    Properties:
      StageName: Prod
      Cors: "'*'"
      Auth:
        DefaultAuthorizer: MyCognitoAuthorizer
        Authorizers:
          MyCognitoAuthorizer:
            AuthorizationScopes:
              - openid
              - email
              - profile
            UserPoolArn: !GetAtt MyCognitoUserPool.Arn

  MiddlewareFunction:
    Type: AWS::Serverless::Function
    Properties:
      CodeUri: aws-middleware/
      Handler: app.lambda_handler
      Runtime: python3.11
      Timeout: 45
      Architectures:
        - x86_64
      Events:
        SqlStatement:
          Type: Api
          Properties:
            Path: /my_route
            Method: post
            RestApiId: !Ref MiddlewareApi

Outputs:
  MiddlewareApi:
    Description: "API Gateway endpoint URL for Prod stage for SQL Statement function"
    Value: !Sub "https://${MiddlewareApi}.execute-api.${AWS::Region}.amazonaws.com/Prod/my_route"
  MiddlewareFunction:
    Description: "SQL Statement Lambda Function ARN"
    Value: !GetAtt MiddlewareFunction.Arn
  MiddlewareFunctionIamRole:
    Description: "Implicit IAM Role created for SQL Statement function"
    Value: !GetAtt MiddlewareFunctionRole.Arn
  CognitoUserPoolArn:
    Description: "ARN of the Cognito User Pool"
    Value: !GetAtt MyCognitoUserPool.Arn
您可以克隆 openai-cookbook 存储库,并从 lambda-middleware 目录中获取示例 python 代码和 SAM 模板
git clone https://github.com/pap-openai/lambda-middleware
cd lambda-middleware
要构建和部署您的函数,请从此目录运行以下命令
sam build
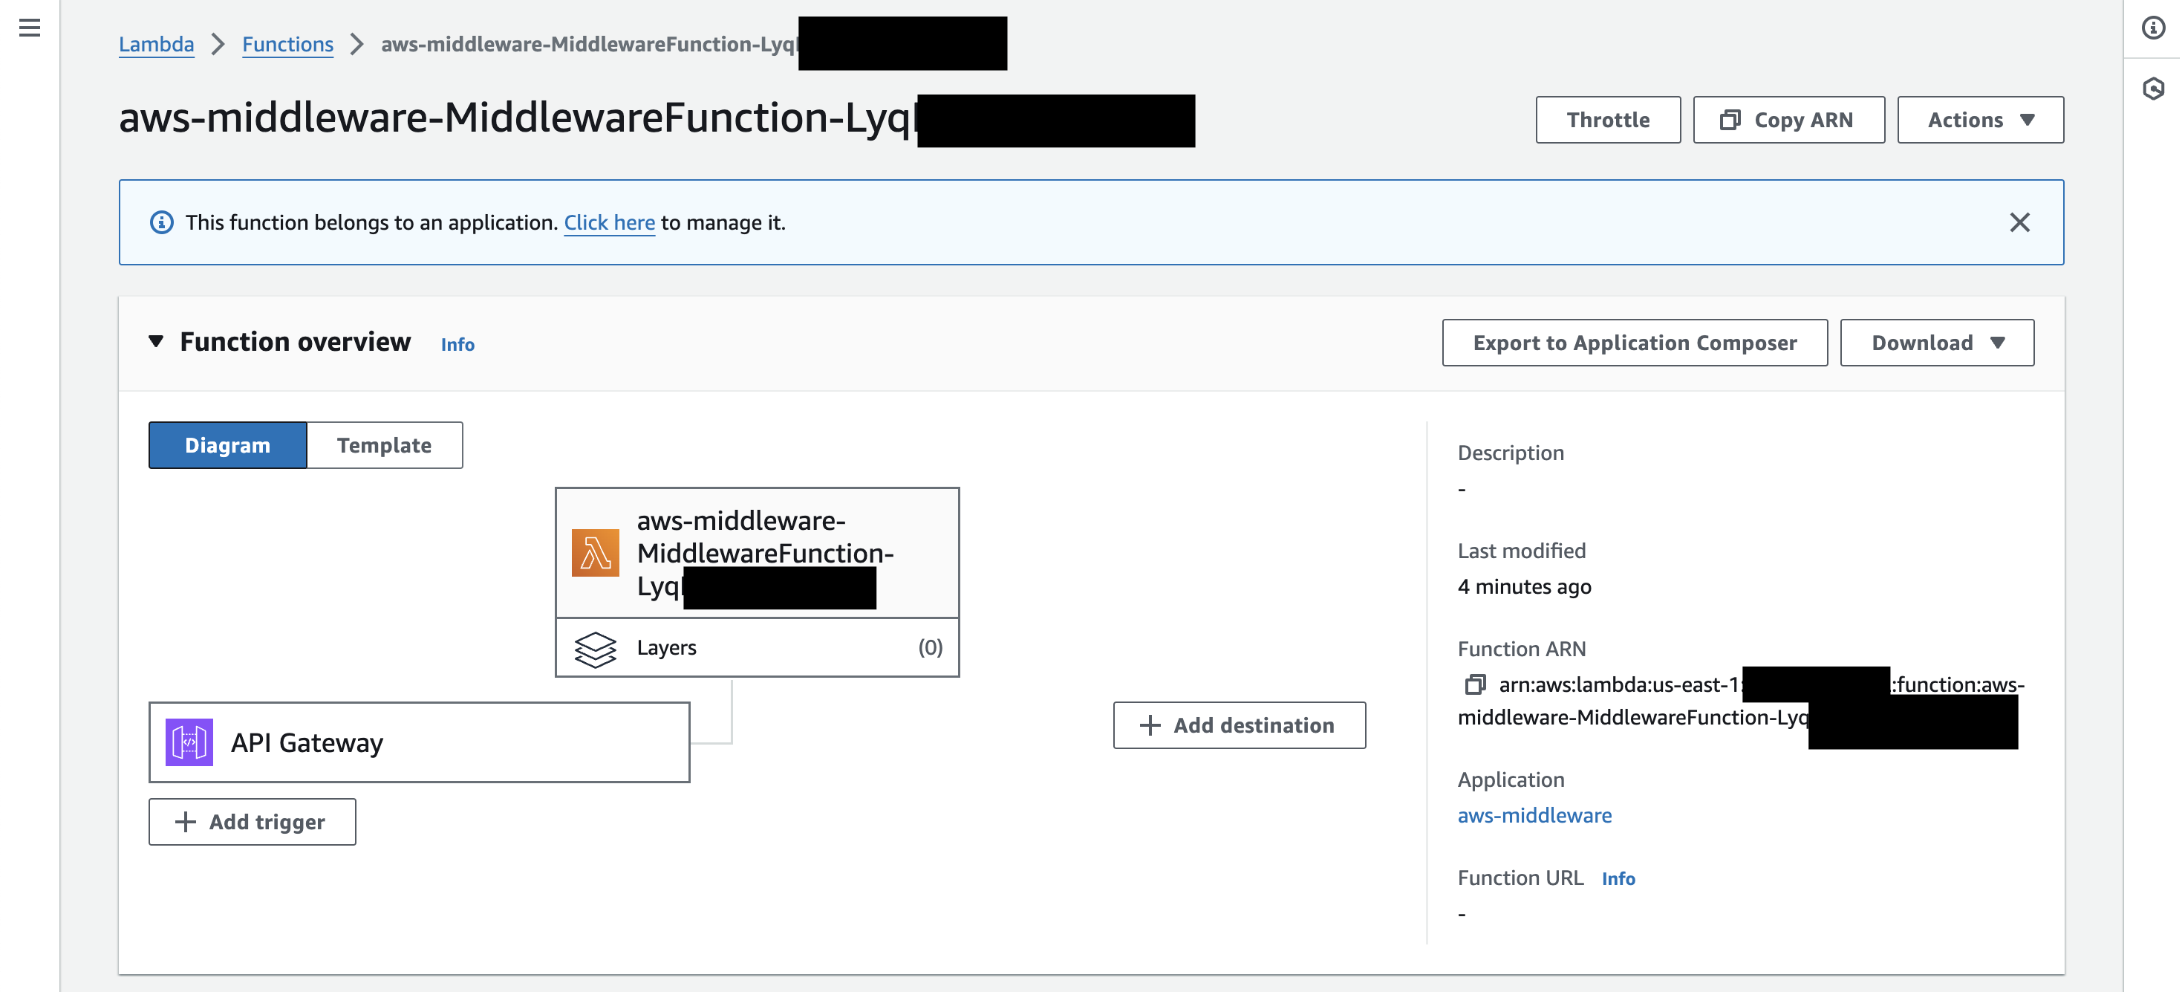
sam deploy --template-file template.yaml --stack-name aws-middleware --capabilities CAPABILITY_IAM部署完成后,您可以转到 AWS Lambda 上查看应用程序
您可以运行不带任何身份验证的 curl 命令来确认该函数在未经身份验证的情况下无法访问
curl -d {} <middleware_api_output_url_from_deploy_command>这应该返回 {"message":"Unauthorized"}。
在 AWS Cognito 中设置身份验证
可选:仅当您创建了用户池并且未使用现有用户池时才执行这些步骤
让我们在新用户池中创建一个用户。为此,请获取部署命令中 CognitoUserPoolArn 的输出,并获取“/”后的值,其格式应为:your-region_xxxxx。
aws cognito-idp admin-create-user \
--user-pool-id "your-region_xxxxx" \
--username johndoe@example.com \
--user-attributes Name=email,Value=johndoe@example.com \
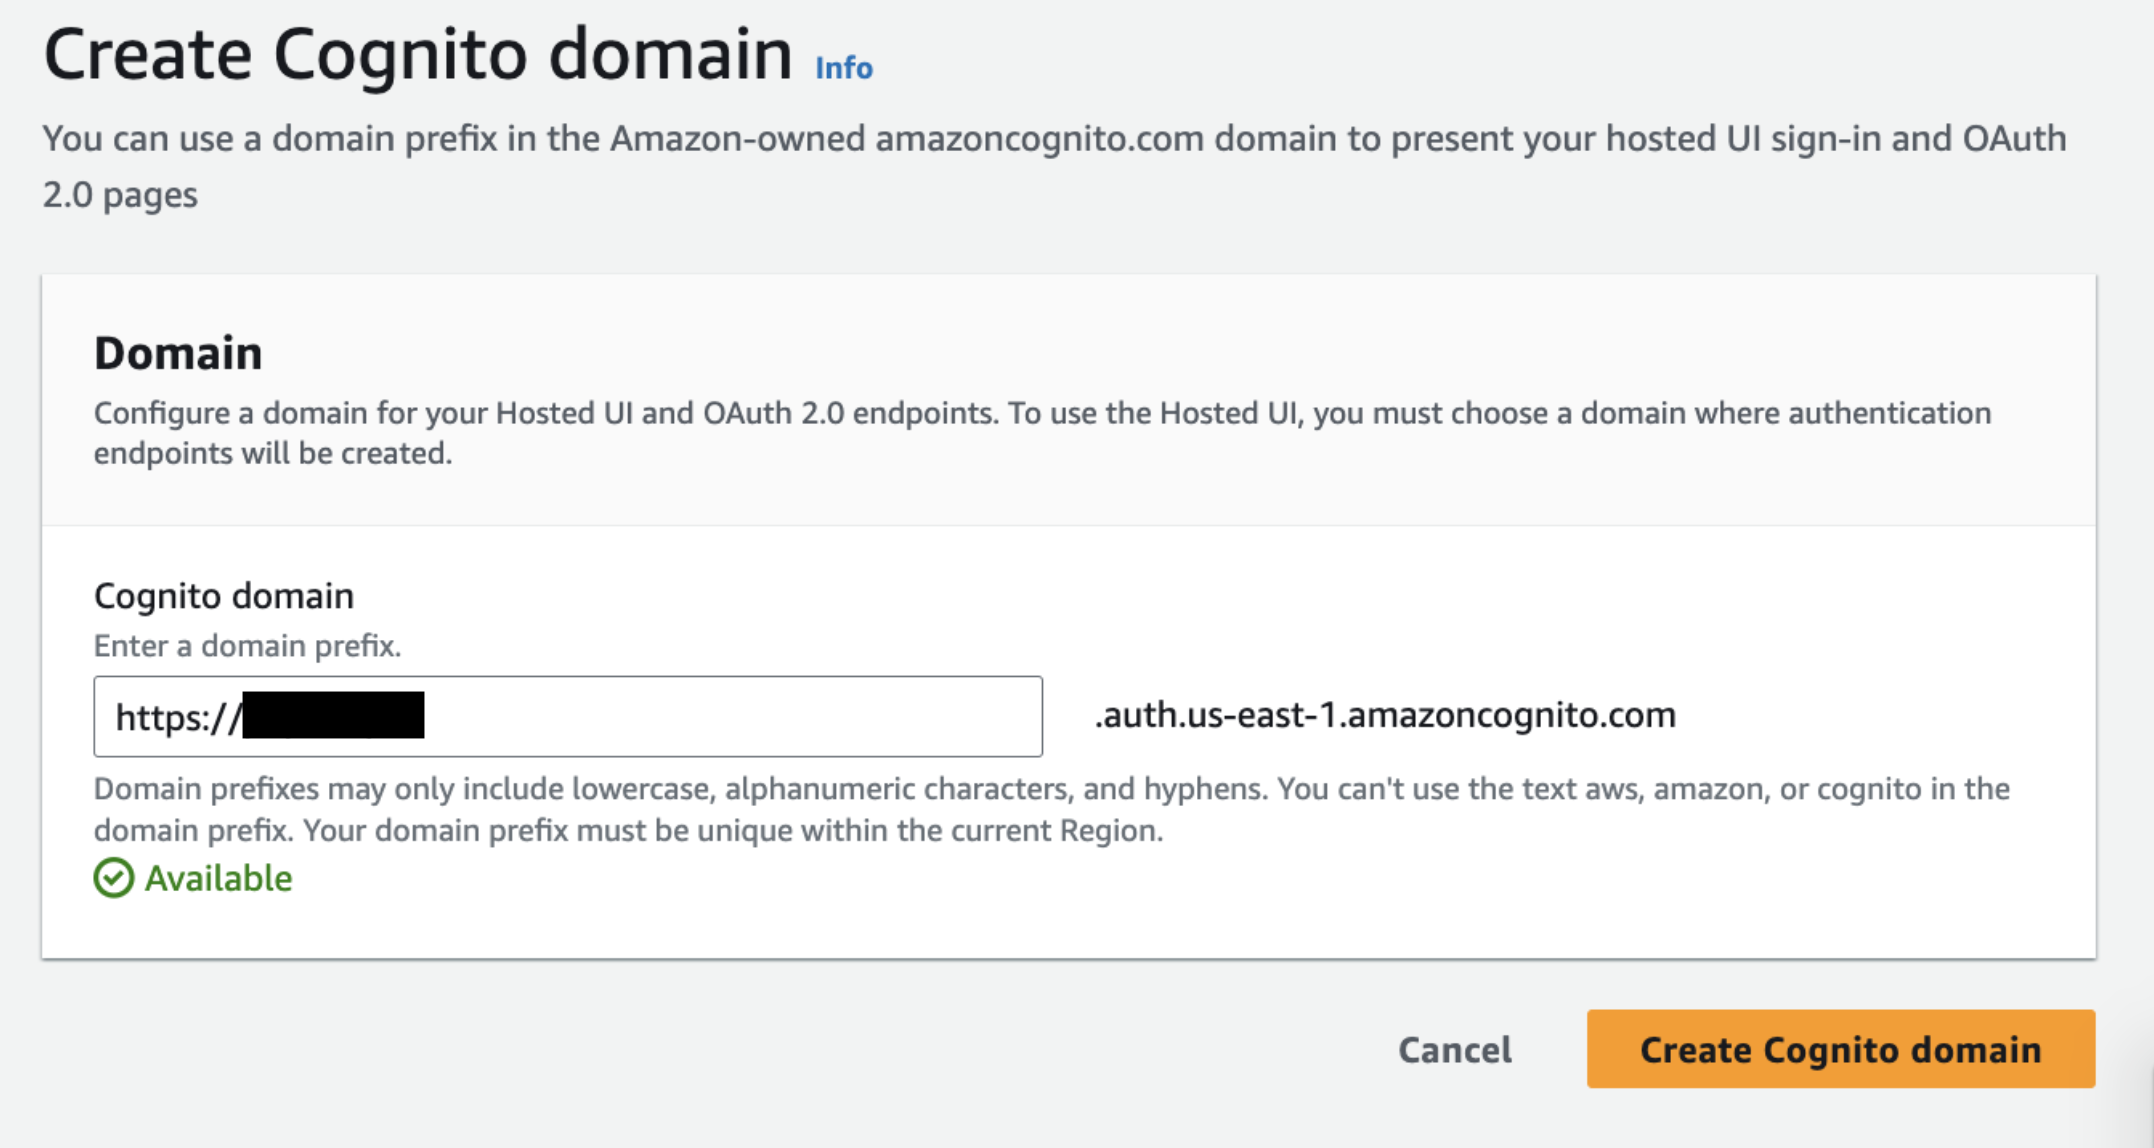
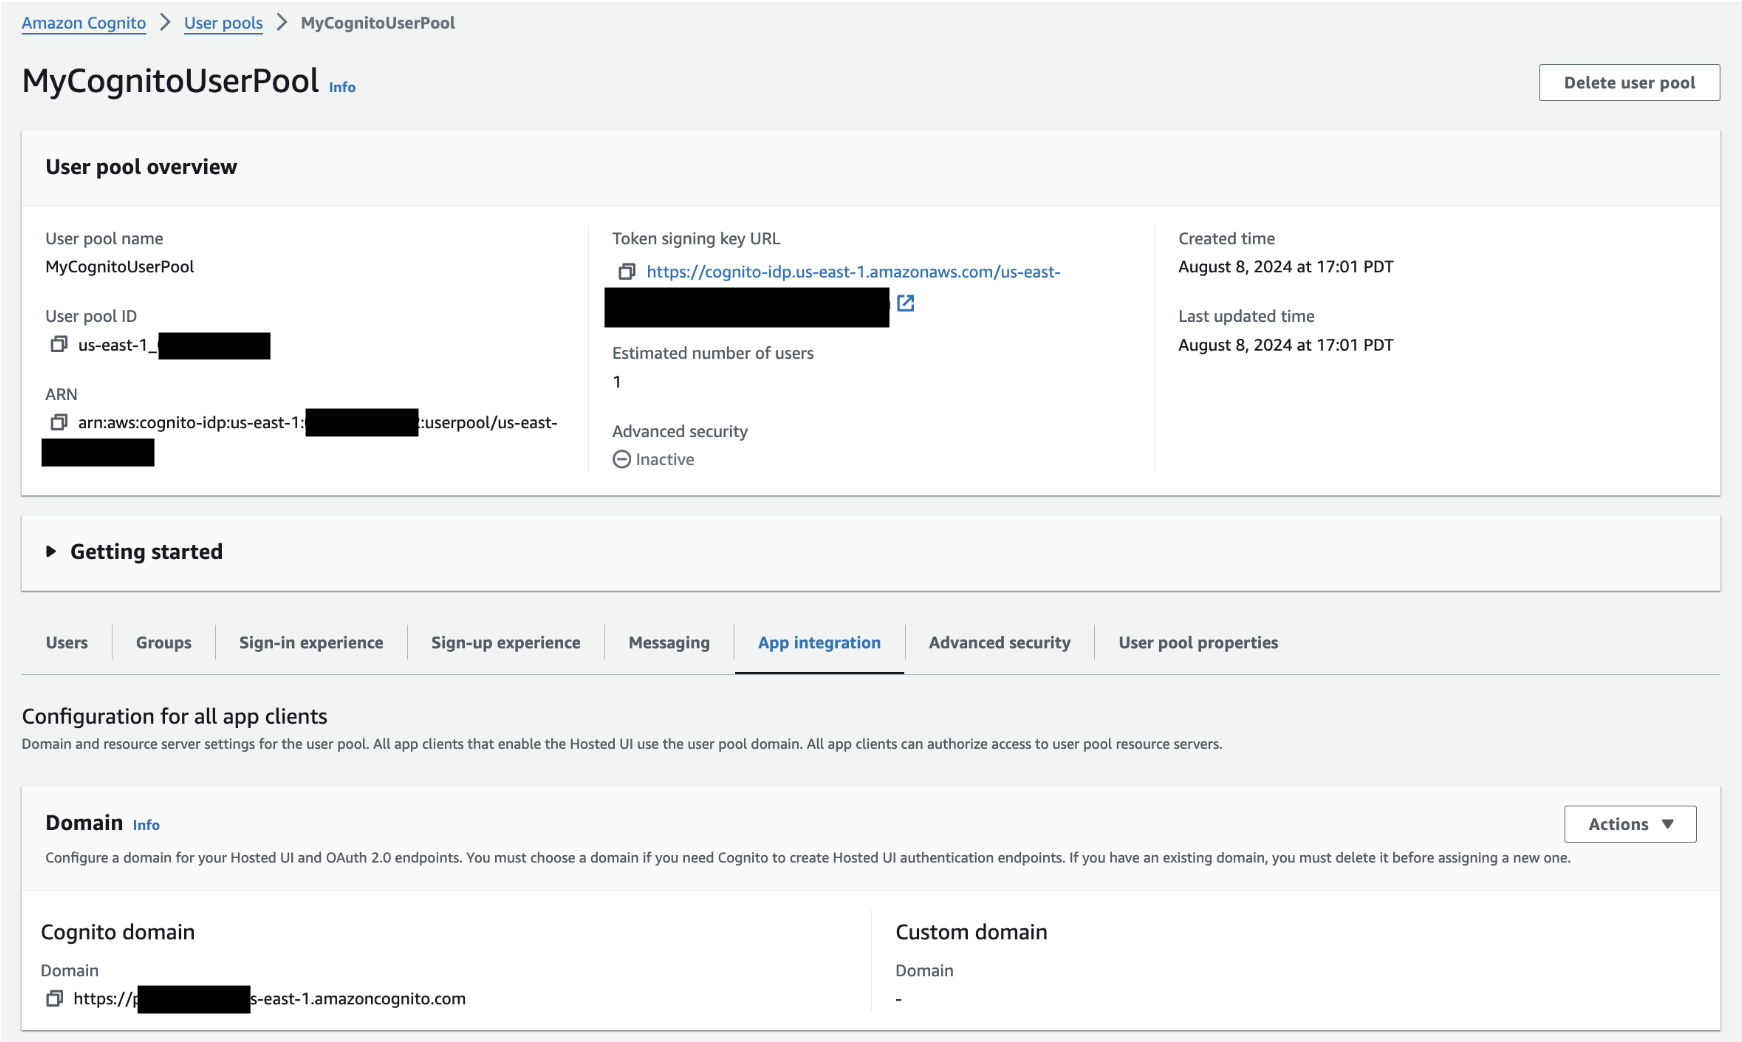
--temporary-password "TempPassword123"现在,让我们确保创建一个可以登录的网页/域。转到 AWS Cognito,选择新创建的用户池并转到“应用程序集成”选项卡

通过单击“域”,然后单击“创建 Cognito 域”来创建 Cognito 域
向下滚动到用户池的“应用程序集成”页面上的 App client list
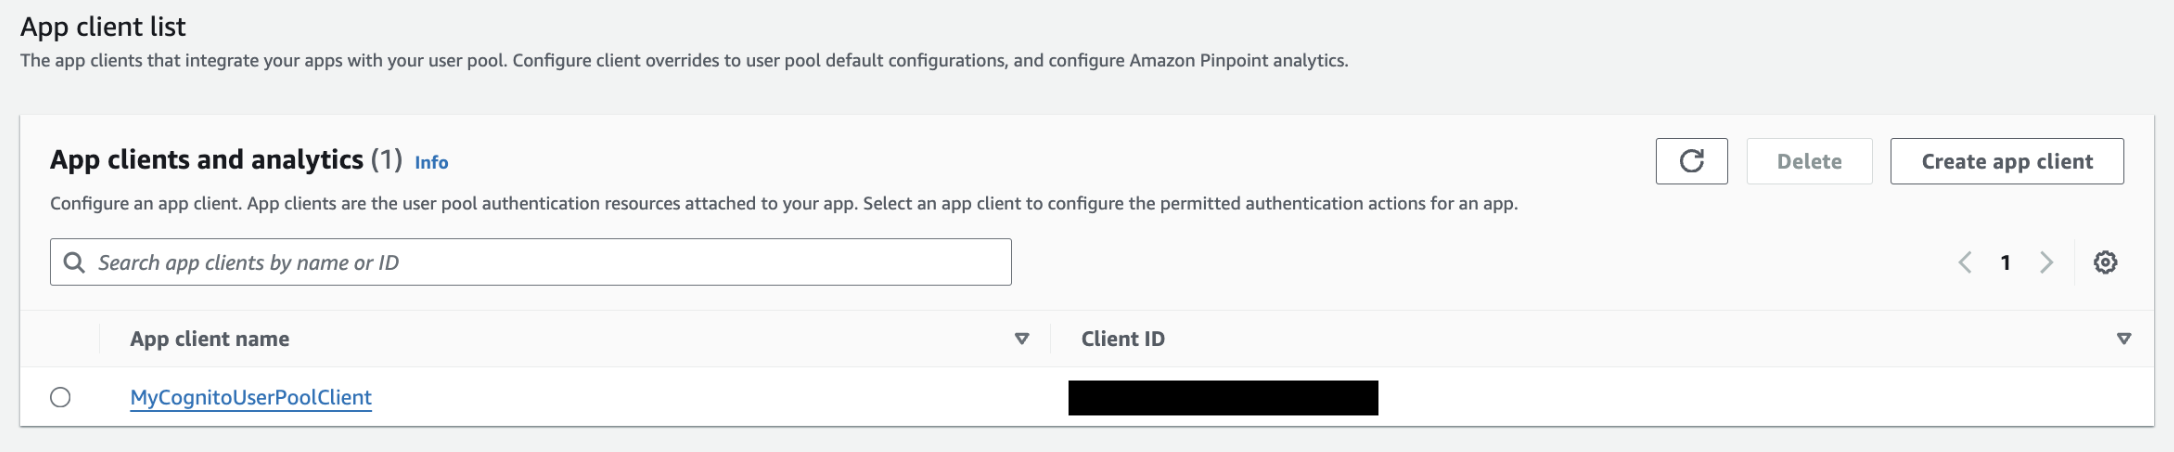
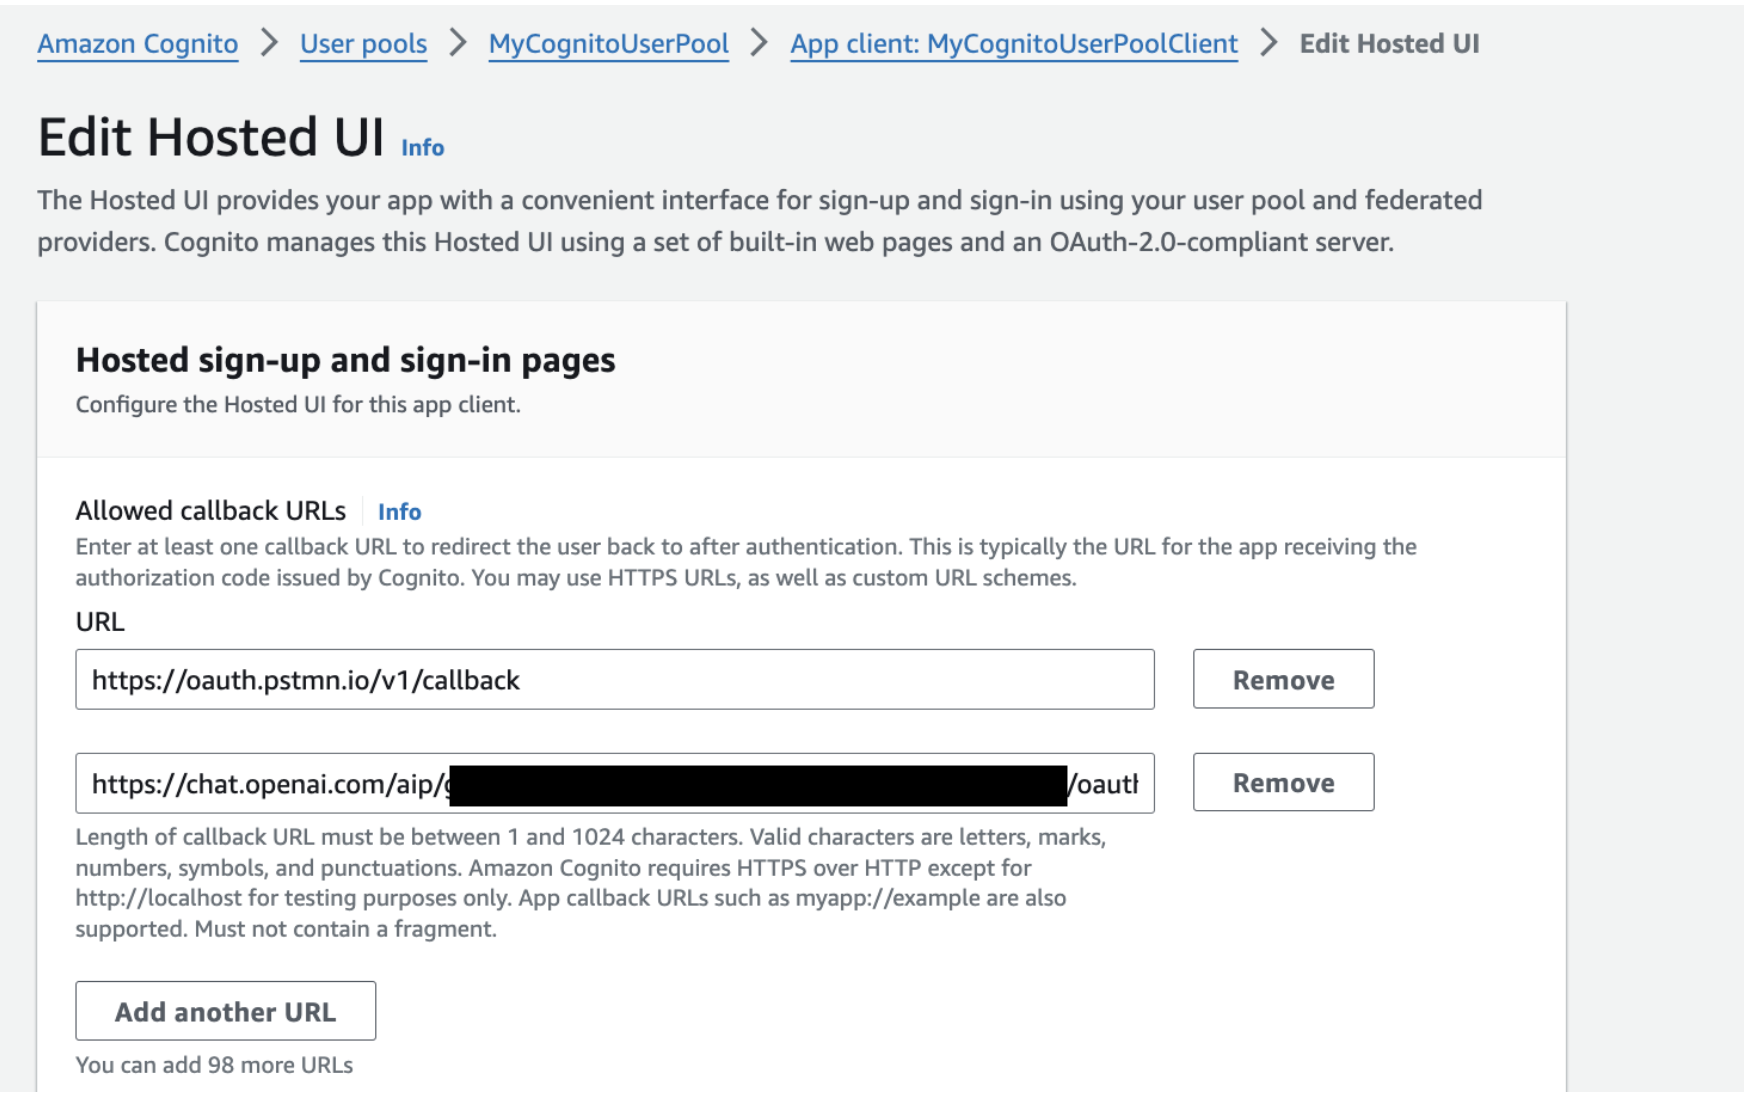
选择您的应用程序客户端并编辑托管 UI
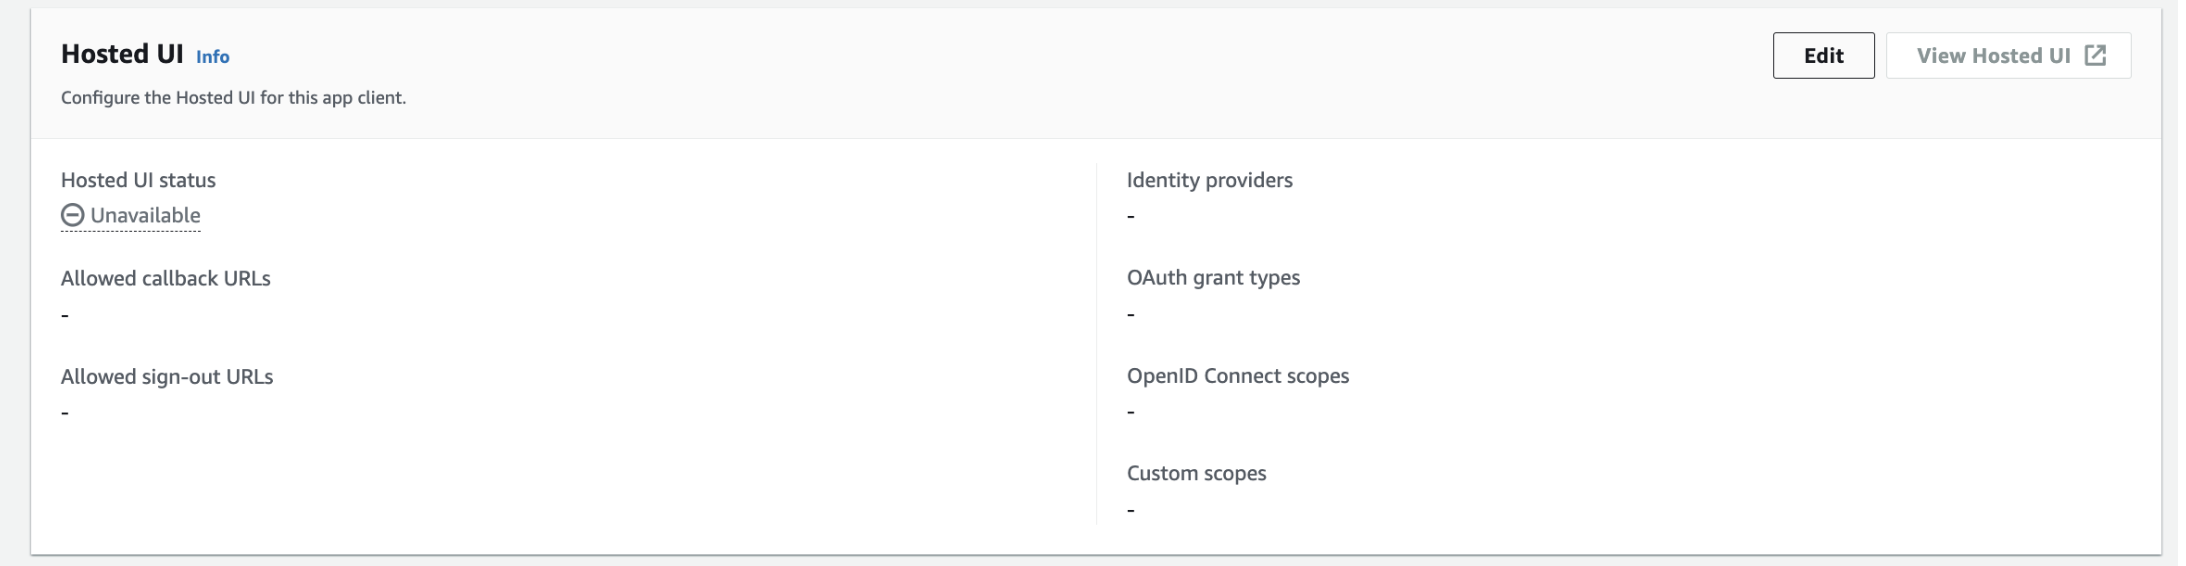
并添加回调 URL、授权方案和 OAuth 范围
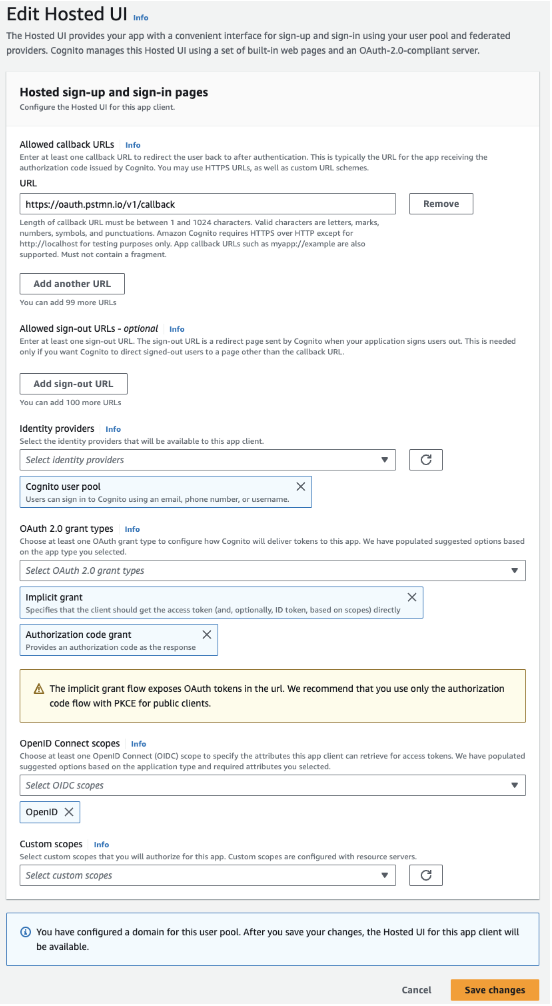
请注意,当 ChatGPT 为您的操作的身份验证生成回调 URL 时,您将返回此步骤。postman URL 仅应用于开发目的。
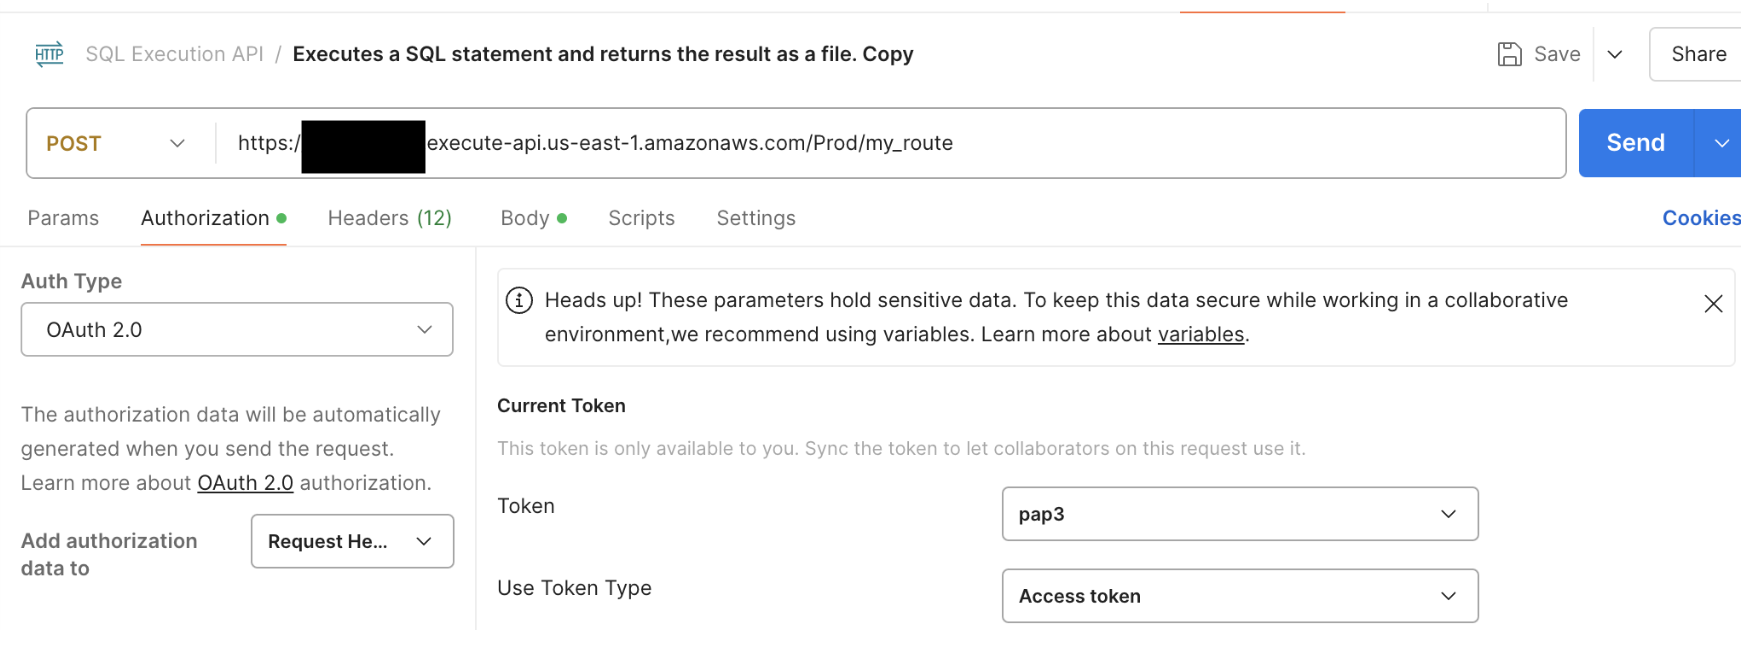
您可以在 Postman 中尝试此连接,在 <api_url> 的“授权”下,复制/粘贴来自 AWS 的 client_id、client_secret 和您为身份验证域设置的 URL 的值,确保在范围中添加 openid 以获取有效的 access_token
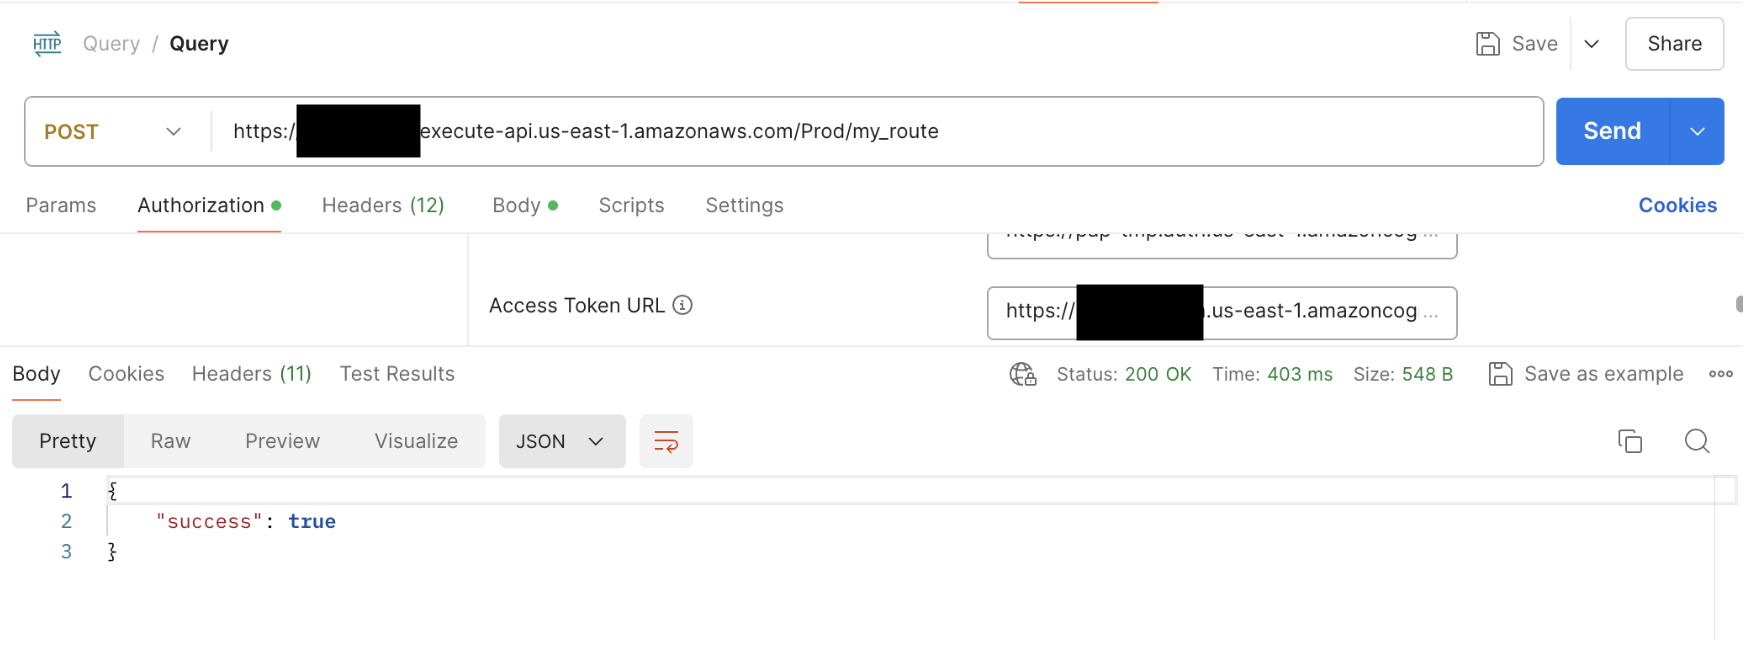
如果您现在在 Postman 上使用刚刚检索到的 access_token 执行请求,您将获得成功的 JSON 返回
在 ChatGPT 中创建 Action
现在让我们将其集成到 ChatGPT 中。
创建一个 action 并复制粘贴以下规范
openapi: 3.1.0
info:
  title: Success API
  description: API that returns a success message.
  version: 1.0.0
servers:
  - url: https://3ho5n15aef.execute-api.us-east-1.amazonaws.com/Prod
    description: Main production server
paths:
  /my_route:
    post:
      operationId: postSuccess
      summary: Returns a success message.
      description: Endpoint to check the success status.
      responses:
        '200':
          description: A JSON object indicating success.
          content:
            application/json:
              schema:
                type: object
                properties:
                  success:
                    type: boolean
                    example: true
如果您尝试测试该 action(您可以单击“测试”按钮),您将看到您收到 401 错误,因为您未通过身份验证。
现在让我们在 action 中添加身份验证。
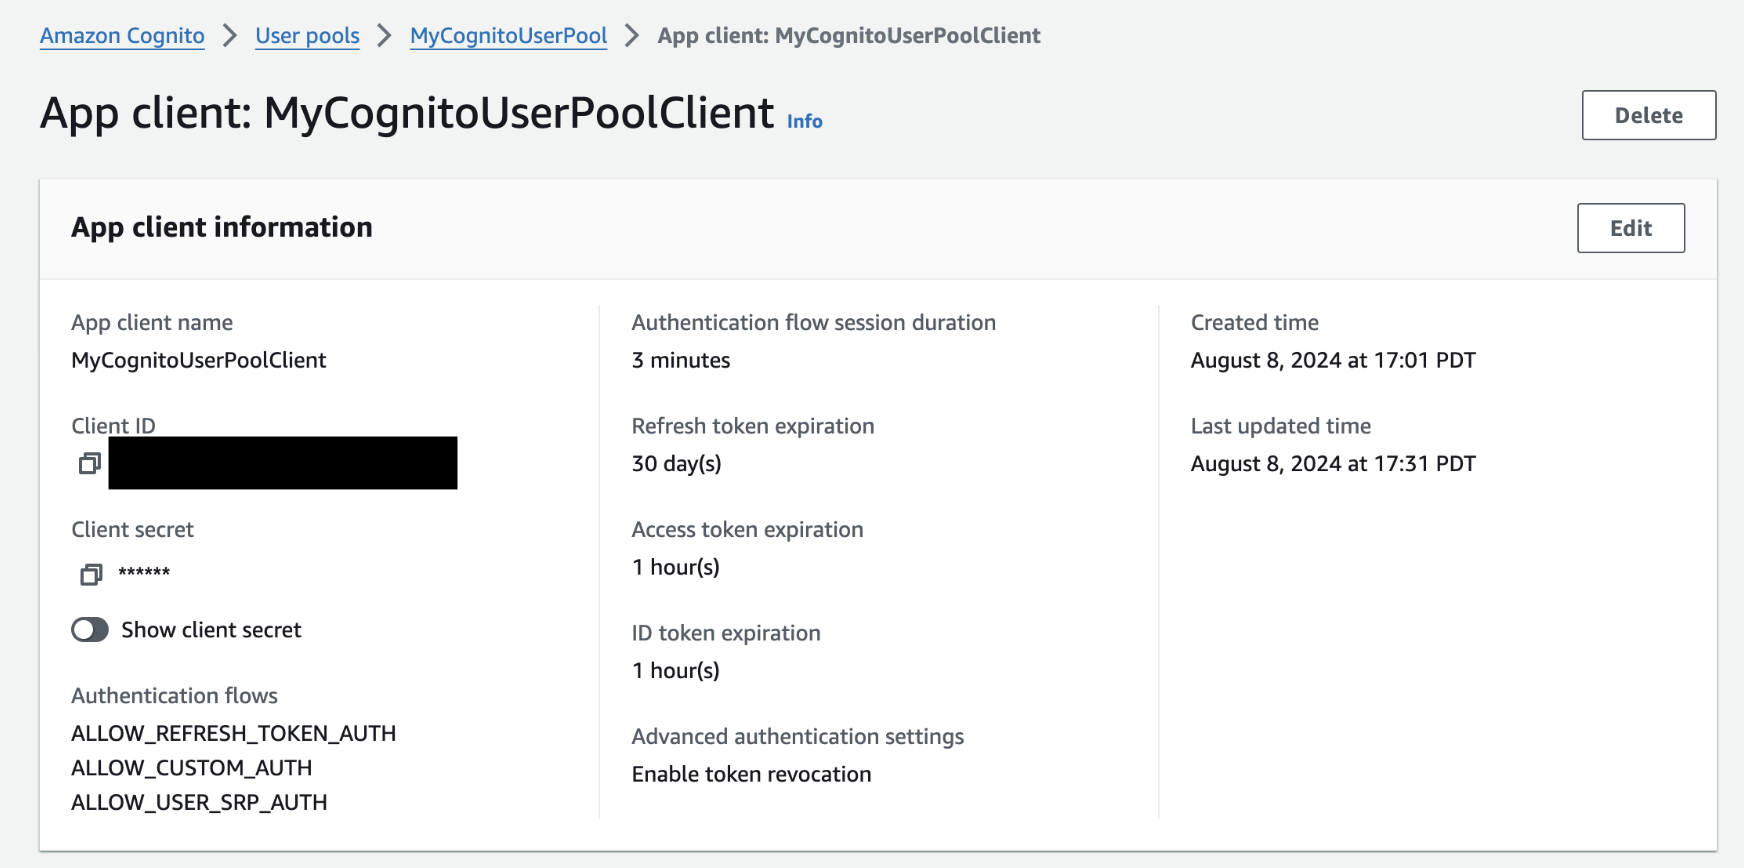
单击“身份验证”>“OAuth”。我们现在需要获取 AWS Cognito 的变量。让我们转到您的“用户池”>“用户池应用程序客户端”。从那里您可以检索您的客户端 ID 和客户端密钥。
将这些值复制粘贴到 ChatGPT 中。现在让我们添加令牌 URL。
从您的用户池中,您将找到您之前为托管域创建的 URL。
我们将采用此 URL 并附加OAuth 的 AWS 路由。
- 令牌:
<your_url>/oauth2/token - 授权:
<your_url>/oauth2/authorize
将这些复制粘贴到 ChatGPT 中。
在范围中,添加 openid 并单击“保存”。
使用 ChatGPT URL 配置 Cognito
现在返回您的 GPT(移出 action 子视图),您将看到 ChatGPT 提供的用于身份验证的回调 URL
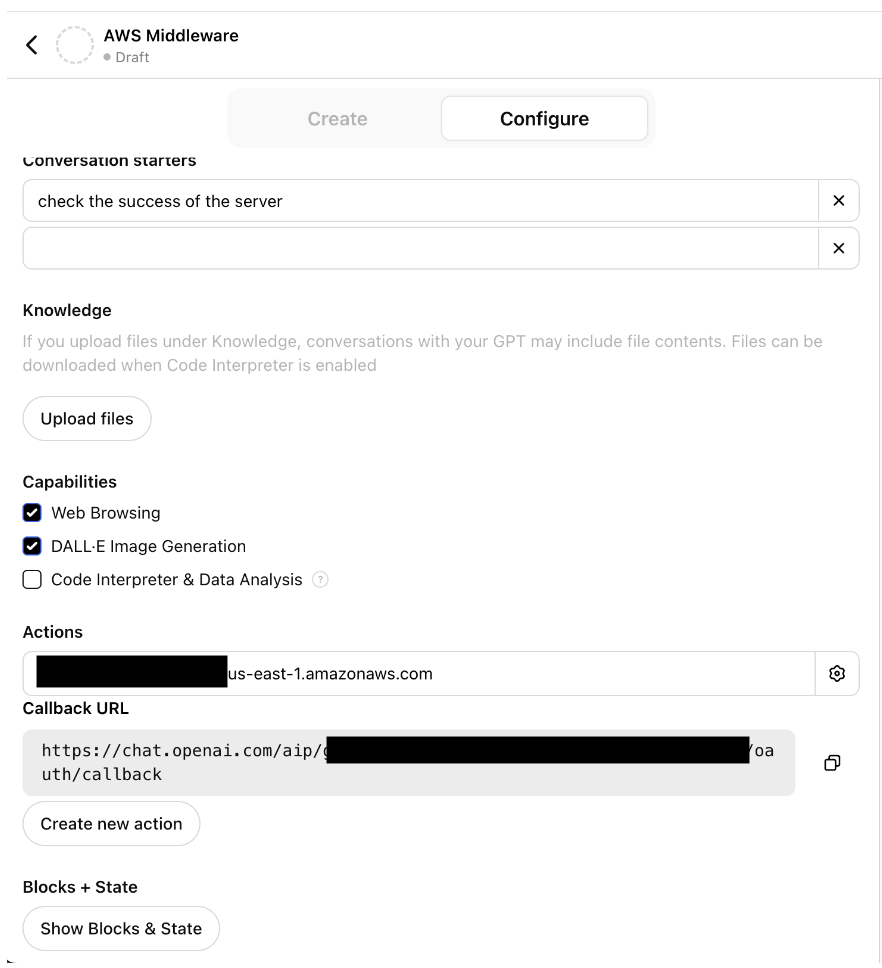
获取此 URL 并编辑您的用户池应用程序客户端的托管 UI 并保存更改
测试函数
您现在可以再次测试此 action
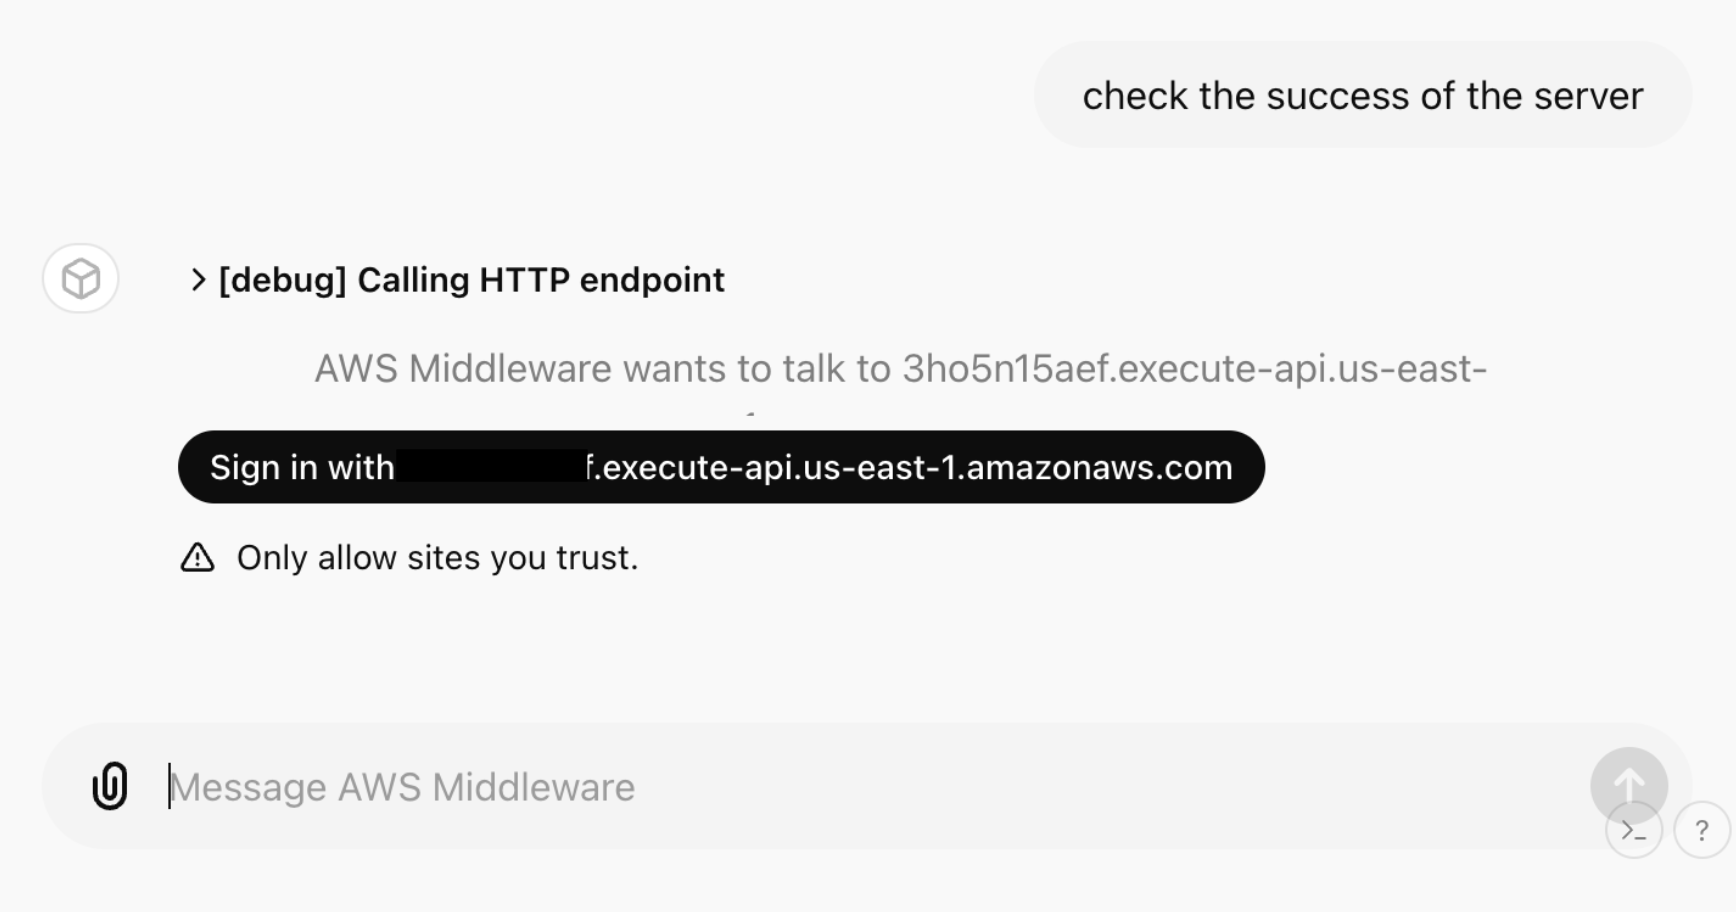
您将被重定向到 AWS Cognito 页面,您可以使用之前设置的凭据登录。
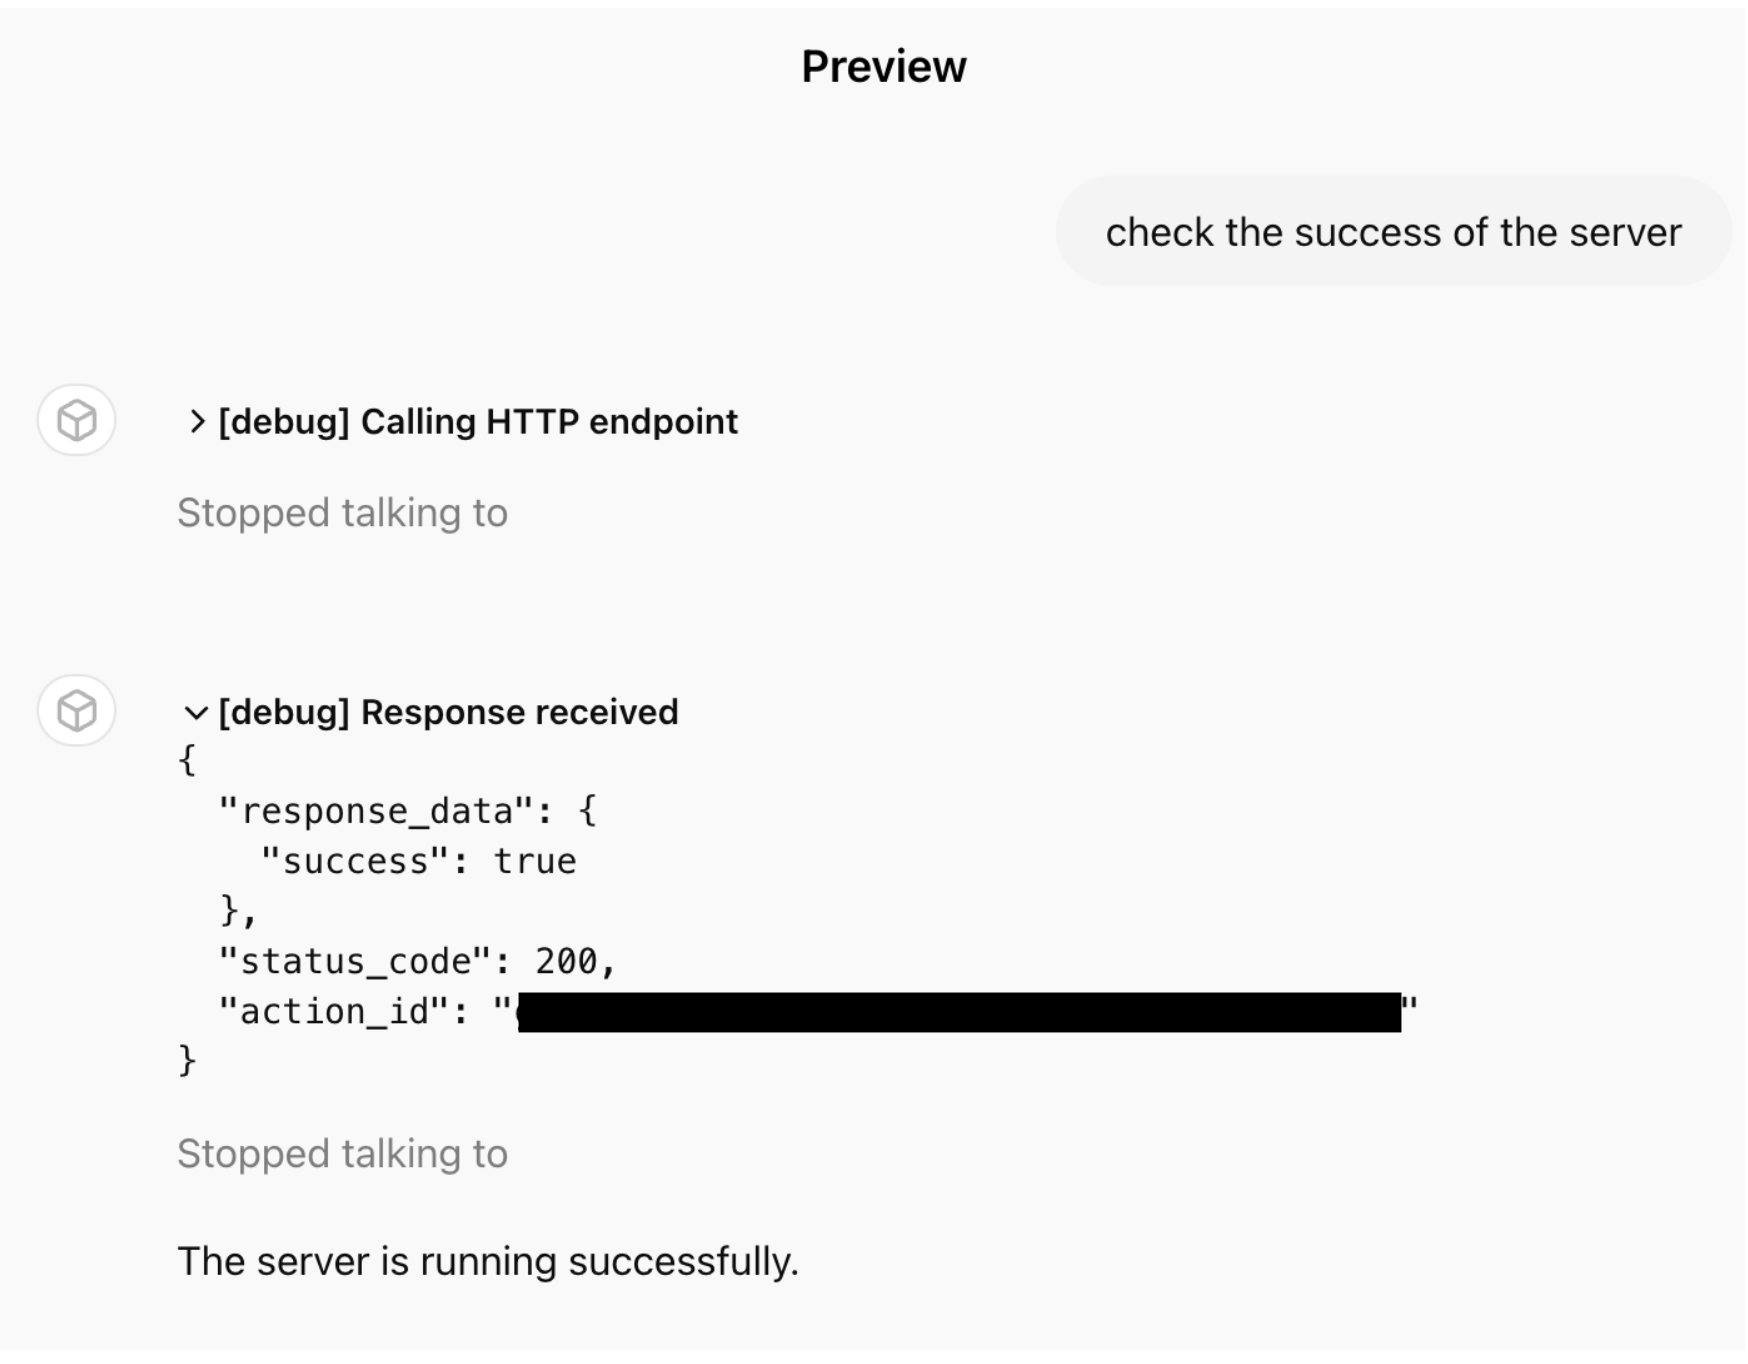
如果您现在要求 GPT 运行相同的 action,它将正确回答,因为您现在已通过身份验证并且能够运行此函数!
结论
您现在已在 ChatGPT 中设置了一个 action,该 action 可以通过经过身份验证的方式与您在 AWS 中的应用程序对话!本 cookbook 向您展示了如何使用用户名/密码从头开始创建 Cognito 池,但是,我们建议根据您的需求设置 Cognito(例如,通过将您自己的 IDP 插入 Cognito)。
此外,该函数未连接到任何其他服务,这是能够以安全方式与 AWS Lambda 函数通信的优势。因此,您可以调整代码和 AWS SAM 模板以满足您的需求。更复杂函数的示例是 Redshift,它遵循这些步骤来创建函数和身份验证,但具有不同的代码/部署。